Case Study: Liquid Screed in a Renovation Project
Liquid or pumpable screeds (also sometimes called gypsum or anhydrite screeds) have steadily become more and more popular in both new builds and renovations, mostly thanks to the fact that they are quicker to dry and can be laid thinner than traditional cement screeds.
If you’ve recently bought a fixer-upper, decided to expand your home, or are planning a new build, chances are you might want to put in a screed floor, especially if you’re thinking of using underfloor heating.
In this case study, we look at the process of laying liquid screed in a home renovation project, and hopefully by the end you’ll have a better idea of what to expect!
So what‘s liquid screed and why might I want to use it?
Screed is basically a thin layer of material laid over a concrete floor base to give a smooth surface to lay floor finishes onto. There are a few different types with their own pros and cons depending on your budget and needs – we’re covering this in more detail in this blog post. This case study is an example of the use of liquid/pumpable screed.

In a nutshell, traditional sand/cement screed is cheaper and you can mix and lay it yourself, but it means more hard work for you and won’t get you the same perfectly level finish as with liquid screeds (although you might prefer a flat surface which isn’t level, for example for wet rooms.)
Liquid or pumpable screeds are about the consistency of double cream and more expensive than traditional screeds, but they’re much quicker to lay so you’ll save on time and labour costs (a 25m2 area can take around 20 minutes start to finish!) However, most suppliers won’t allow you to mix and lay them yourself, so you’ll need to have a contractor come and pump in the pre-mixed screed, and plan for this work in advance.
One of the best advantages of liquid screeds is the fact that they help level any uneven floor structures – which then makes it easier to lay any final flooring materials, whether it’s tiles, timber or carpet. Liquid screed is also very handy if you’re installing UFH pipes, as it absorbs and radiates heat well and helps keep your home nice and toasty.
You may not always need a screed floor though, depending on your project – for a garage or warehouse you might be perfectly happy with just a concrete floor.
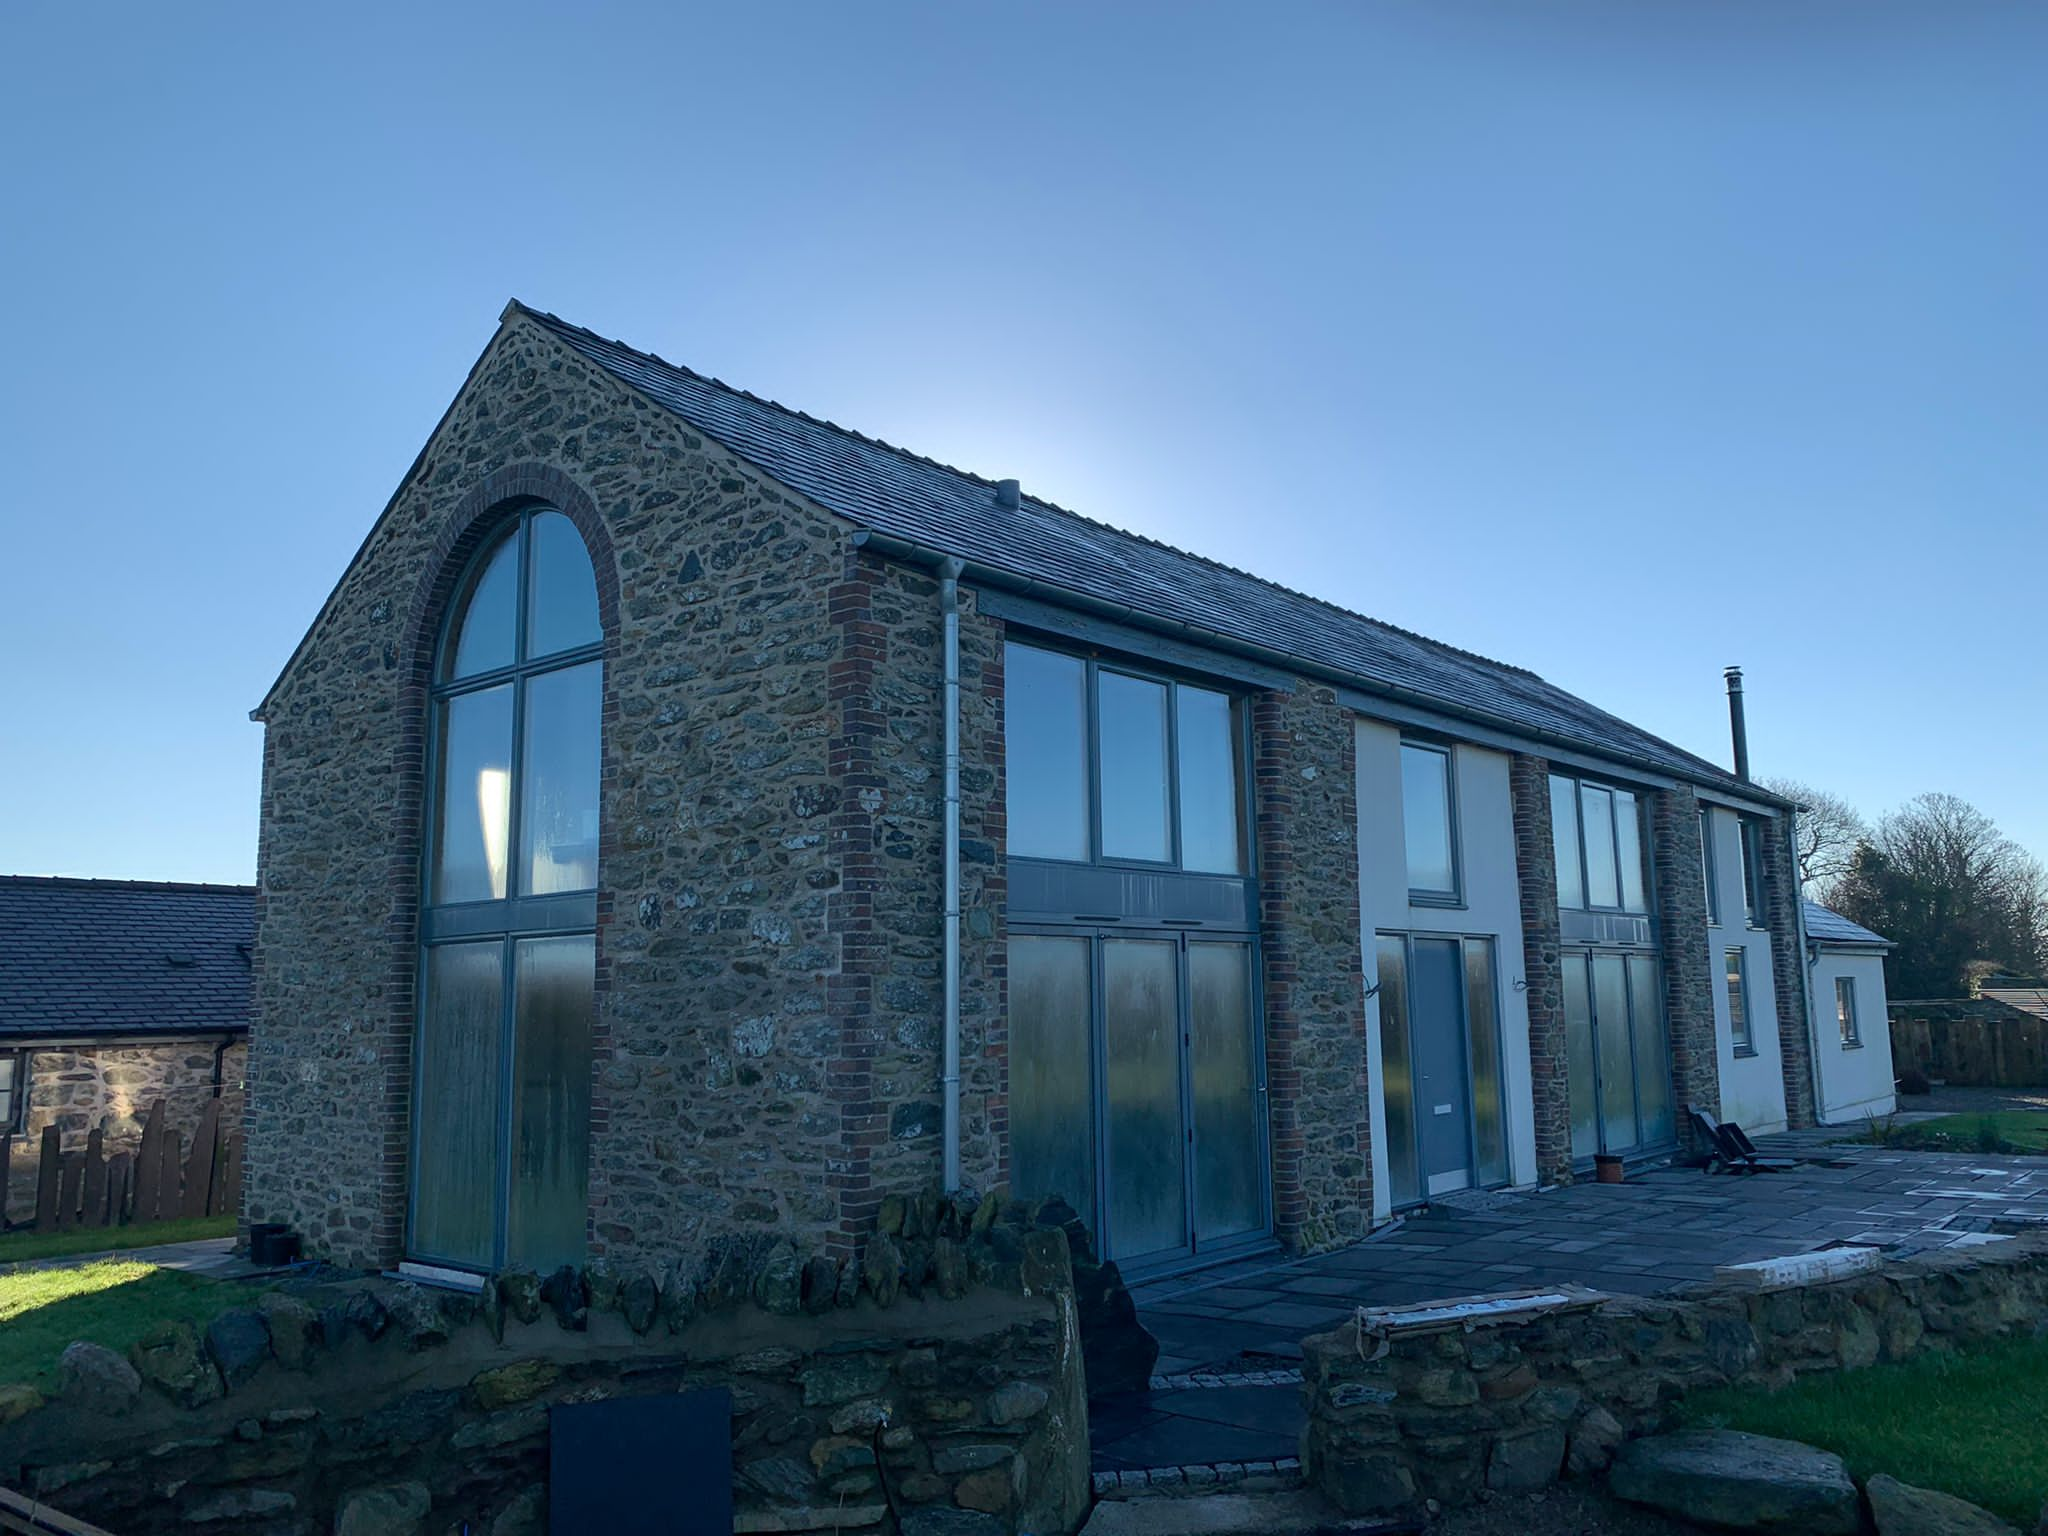
Liquid screed in a barn conversion
In this case study, liquid screed was laid on the floor of a barn conversion in Llanddaniel on the Isle of Anglesey. The owners Daniel & Kay Bamford have been working on gradually converting a derelict shell of a stone barn with an earth floor into a house for several years, and started out by clearing out years’ worth of cow muck, hay and dirt before repairing the existing stonework, putting in a concrete base, new footings and walls, and replacing the roof.
“The project has been going on for too long – I like to work hands on, but work has got in the way. The house will have an open plan living area, opening onto the garden, and a double fronted fireplace as well as noisy kids!” Daniel explains.

As they decided to put in underfloor heating, Daniel & Kay chose Gyvlon® Eco FD for its proven performance, fast drying times and good thermal conductivity. The Eco FD is a faster drying version of Gyvlon® Eco screed, allowing trades & foot traffic within 48 hours and floor coverings to be applied within 4-8 weeks depending on depth and drying conditions.
The floor of the house had 100mm PIR insulation sheets over the concrete base, with a waterproof membrane and UFH pipes then attached on top before pouring in the screed.
Covering underfloor heating pipes with screed means only the screed is heated instead of the whole concrete floor. As the screed surrounds the heating elements, it conducts and radiates heat evenly through the room and also saves space by removing the need for radiators! There’s a BUT though – if you’re thinking of installing UFH, it’s worth bearing in mind that screed takes a much longer time to heat up and cool down than a radiator, so popping the heating on when you come back from work and leaving it off when you’re out wouldn’t really be an option. Your heating would generally need to be on constantly, although at a lower temperature than with radiators.
Step 1. Making the area watertight
Before getting screed delivered, the area needed to be prepared to ensure it’s sealed and watertight – kind of like creating a mini swimming pool. The first step here was removing dust and debris before covering the floor and walls up to the surface of the screed with polyethylene sheeting to create a shallow pool for the screed (also known as tanking the floor) and taping the joints. This is important as it prevents the screed from leaking somewhere it shouldn’t when pumped in, but also helps avoid any chemical reaction with the insulation underneath.

Step 2. Underfloor heating
After the watertight pool was ready, underfloor heating pipes were laid and secured to the floor with a tacker gun – attaching them down helps avoid pipes floating around in your screed. UFH clips do usually puncture the waterproof membrane as they’re stapled in, but screed is generally too thick to seep through tiny holes and the clips are usually self-sealing.
Step 3. Foam and expansion joints
As a material that expands and contracts as it heats and cools, screed with UFH pipes needs to accommodate for movement. For example, screed expanding against immovable surfaces like walls, columns or pipes could end up pushing them out or cracking, so in this case the outer edges of the room were lined with a strip of 10mm foam to allow for contraction and expansion of the floor. The same foam was also wrapped around cables protruding from the floor.
As the 240m2 conversion will have separate rooms with their own UFH circuits, doorways also needed to be considered before pouring the screed. Different rooms can have different temperatures and therefore differences in screed expansion, so foam control joints (also known as crack inducers) were attached as stress joints at the doorways to accommodate movement and to allow any cracks to occur in a controlled way.

Step 4. Screed tripods
Before pumping any screed in, you’ll need some way of knowing and marking when you’ve got the correct level of screed in the pool – this is done with screed tripods or “screedpods”.
Screed tripods, also sometimes called screed spiders, are three-legged devices with a central screw threaded shaft with circular disc at its base. These are spaced around the room at 1-2 metres intervals, and the discs raised or lowered to set the perfect required floor level (using a laser level) before pouring in the screed. Once the screed surface reaches the bottom of the levelling plates, you know you’ve got the right amount and the pump can be turned off. We have some more info on the use of screedpods in this blog post.
Step 5. Pouring the screed
Once the area was watertight and foam-lined, and the UFH pipes were tacked down, the next step was the next step was to take delivery of the screed and pump it in. As we mentioned before, when it comes to liquid screeds, the suppliers control the mix, make up and distribution of these and a screed contractor will measure the amount needed beforehand, order the correct quantity and have it delivered to site ready to be pumped. In this case the screed was delivered by Hogans Asphalt, Concrete and Aggregate Suppliers and pumped in by Heat & Screed Anglesey.
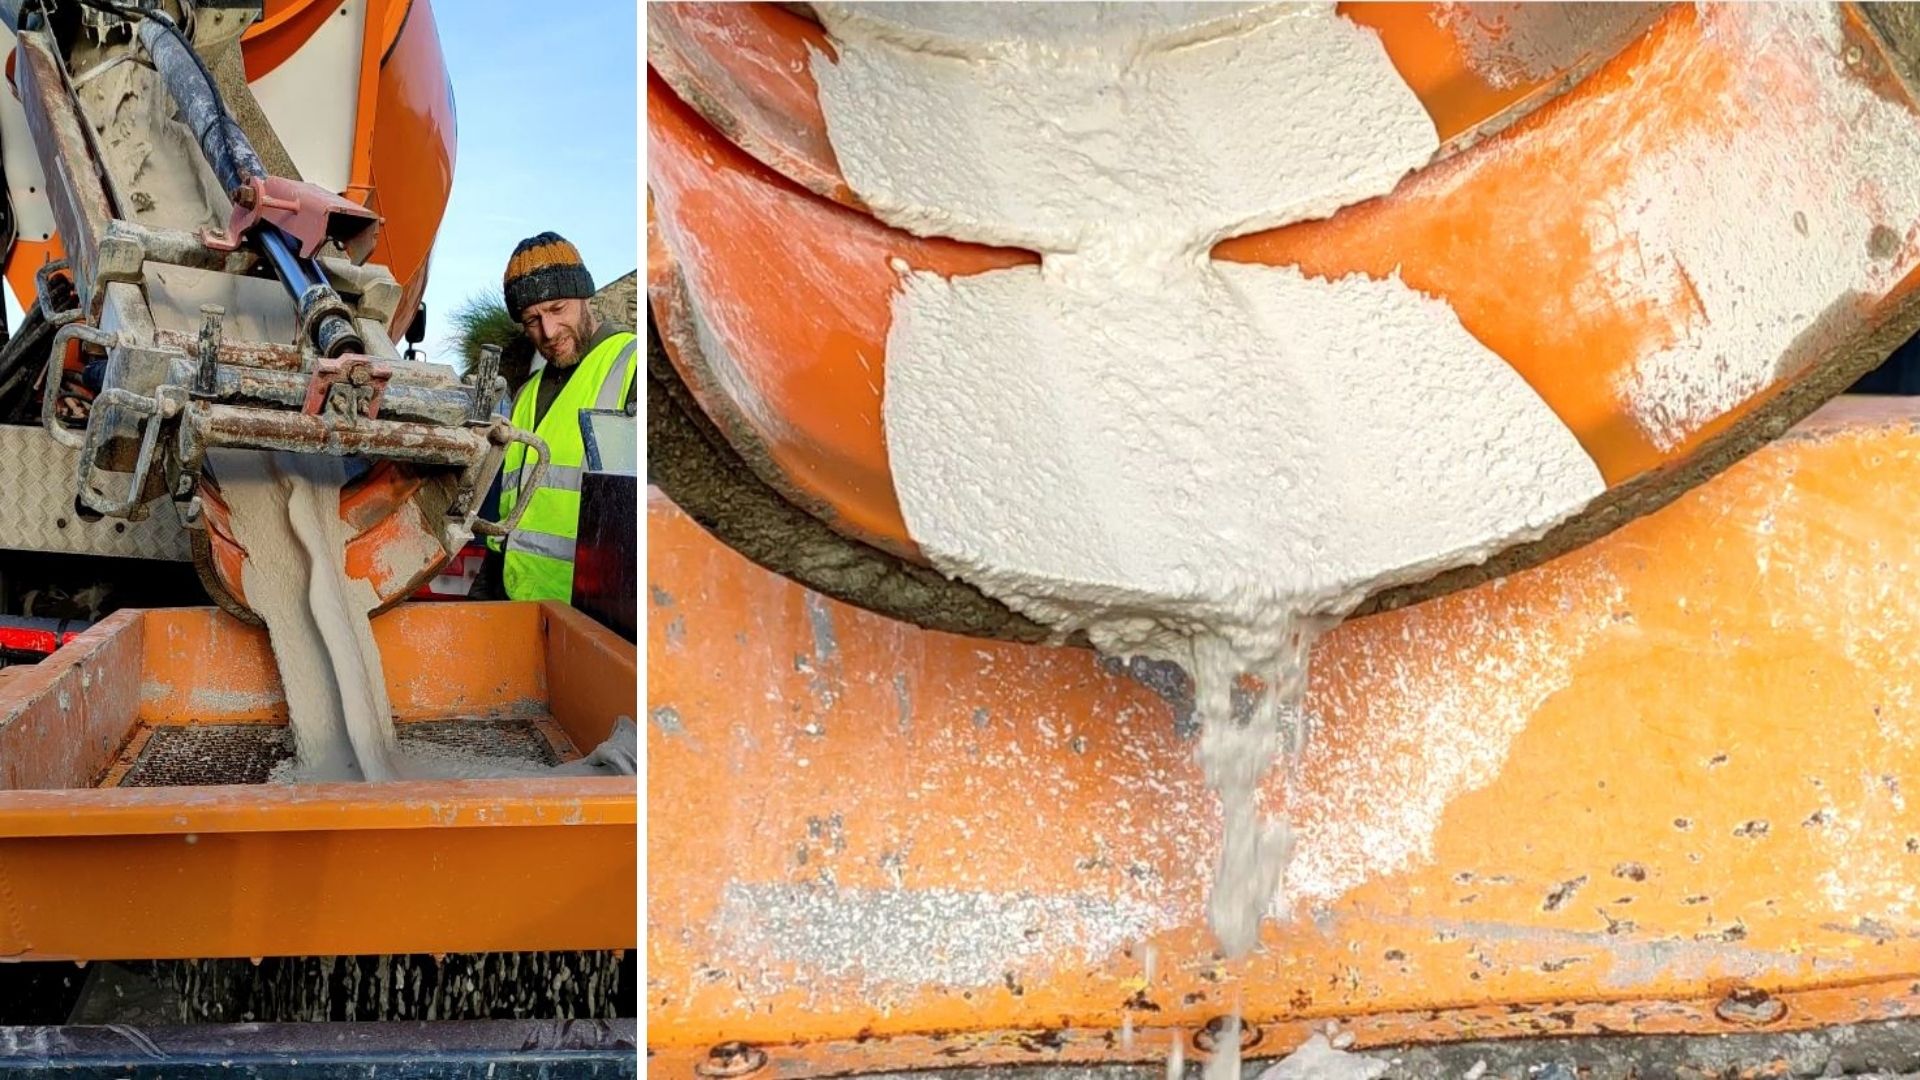
Pouring the screed in was quick – after testing the flow of the screed to make sure it was the right consistency, the screed was pumped into the room and spread evenly with a dapple bar.
Dappling the screed releases air bubbles from the screed that otherwise might affect the durability and thermal conductivity, and helps achieve a smooth finish. Overall, pumping the screed in and dappling it took about half an hour.

OK, screed is in the room, what do I do now?
If you’ve just had screed laid, the first thing to do is to close the doors for up to 72 hours or so to preserve humidity. This is to reduce ventilation and slow down drying, as screeds can crack or develop weaknesses if they dry too fast.
Liquid screeds dry enough to be walked on fairly quickly – according to DIY Doctor, they take about 1 day to dry for every mm up to 40mm, and 2 days per mm for depths over 40mm, but it’s worth checking with your supplier for the exact specifics.
However, that doesn’t mean your floor screed is fully dry and you can just build away on top of it – DIY Doctor estimates it can take a week before you can start to build non-load bearing structures like partition walls. With Daniel & Kay’s project, the estimated time for the screed to dry fully is between 1 month and 8 weeks.

Final floor coverings can be laid once your floor screed is fully dry, but there’s one thing to take care of first: Calcium sulphate screeds get a thin crust on the top known as laitance as they dry. If you’re planning on tiling the floor, you’ll need to get rid of the laitance by sanding to allow the adhesive to stick. With floor coverings that don’t need adhesive, you can get away with just brushing and hoovering off the residue.
Daniel & Kay decided on ceramic tiles for their floor for maximum thermal conductivity. While the screed is drying, they’ll be cracking on with upstairs underfloor heating, and finishing the plastering.
We hope this case study has shown you what to expect when laying liquid screed in your building or renovation project, and given you a better idea of what you need to consider if you do decide to go ahead with it. If you’d like to dive into a bit more detail, we have more info on the preparation for laying liquid screed, different types of screed, screed tripods and dapple bars. Our Screed and Concrete Tool Knowledge Base is also here to help if you have any questions on the tools involved in screeding.
If you need to speak to us, just call 0800 130 3646, drop an email on sales@metexonline.com or find us on social media!

